European Mount DIY
Congratulations! You had a successful sheep hunt AND managed to bag a full-curl ram. Booya! Now you’ve got some taxidermy decisions to make. Shoulder mount? Life-sized mount? Horn of Shofar? If you’re like Scott and me, dropping a grand or more on a shoulder mount isn’t a yearly option. A European skull mount is a beautiful and classy way to display your trophy. For those with a little DIY skillz, some patience, attention to details and about $100 (and have a strong, non-squeamish stomach) you can have the satisfaction of tackling this project sans your local taxidermist.
There’s a ton of info on how to do this on the internet, particularly as related to deer skulls, not so much on sheep skulls. There are several methods and I suggest you do some research before you begin so you get a better feel for all the processes involved and the many options. That being said, I’ve done many of my own and friends skulls (of various species) over the years and the following method has been refined and tweaked and is giving me excellent results. So let’s get to it!
*Note: If you are lucky enough to ever shoot a record book sized sheep please contact your taxidermist on the best methods to minimize horn shrinkage prior to getting them scored and prior to attempting any DIY taxidermy.
Step 1: Do nothing! That’s right. Throw your caped skull with horns into a contractor grade garbage bag, seal it up and leave it someplace safe for about a month while you concentrate on other late season hunts. For me this means in my garage. On warm sunny days I like to take it out on the deck and place it in the direct sunlight to let it heat up good. Inevitably some flies laid some eggs on your skull prior to it going in the bag. My skull this year had a good crop already wriggling when it went in. Even with the bag sealed, other critters somehow find their way in too. All that bug, maggot and rotting action is helping to clean off all the flesh on your skull without any help from you.

Ram horns going in the bag.
Step 2: Hold your nose, it’s time to check. Whew, this part really does stink. I’m not responsible for what your significant other does to you if you’re brilliant enough to bring these inside at this point. Really, the main thing that is happening during this 3-4 week process is the horns are loosening on their cores. After this amount of time, they should readily come off with some good twisting/pulling. Don’t be afraid to give the bases a good whack with a rubber mallet if they are a bit stubborn.
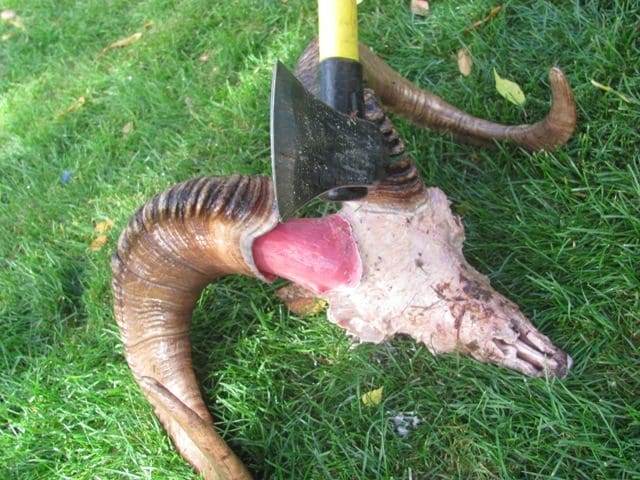
Here’s Scott’s 2013 ram. He used the back of his splitter to knock the horns off.
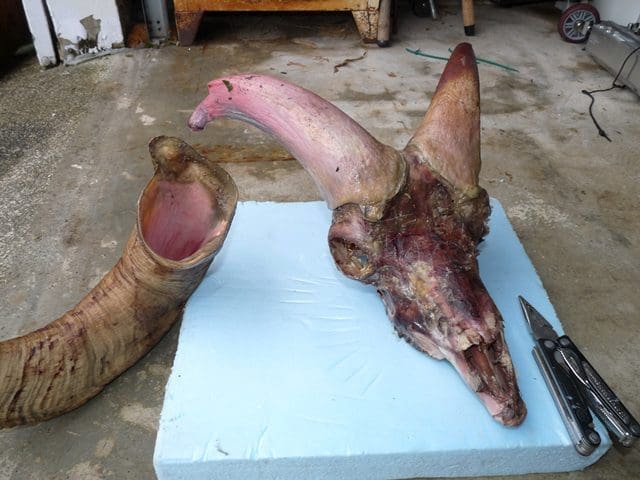
Here’s what mine looked like after the horns popped off.
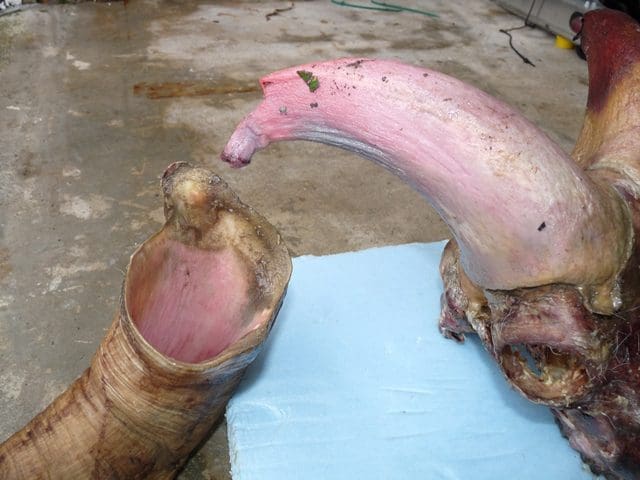
Here’s a close up.
Step 3: Take your dedicated, rusty skull saw and hack a couple inches off the ends of the cores. This serves a dual purpose. First your horns won’t fit back on the cores if you don’t, plus it allows you to clean inside the horn cores themselves. Toss the tips into the trash or make a cool key ring or something out of them.
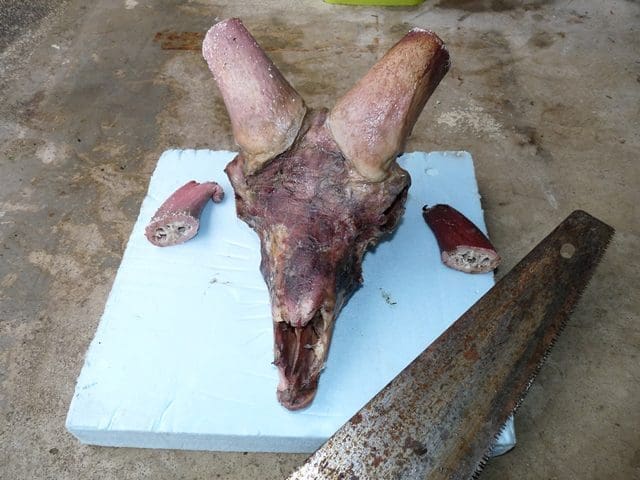
Power tools make this a bit easier.
Step 4: Let the bacteria do the work again! Fill a 5 gallon bucket with warm water and let the decay continue. You can add a cup of baking soda to the water to add some enzymes that help break down tissue. You did put this stinky bucket someplace away from the house didn’t you? I like to leave my bucket-o-skull for about a week.
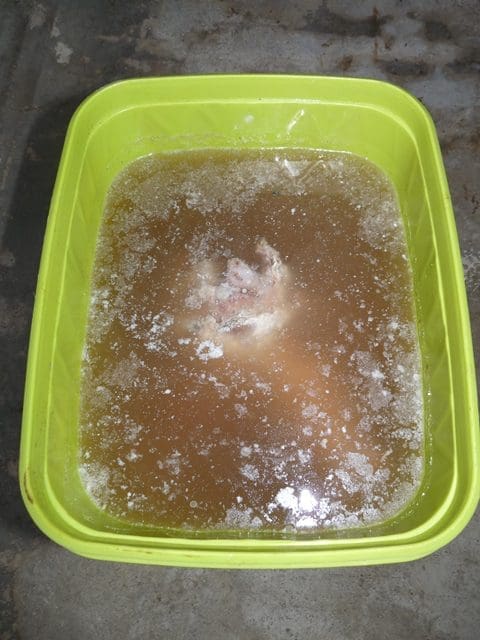
A lid will keep the stank down in your garage.
Step 5: While your skull is soaking you can tend to your horns. If you’re going the horn of Shofar route you can skip right to this step. The insides of the horns have a thin membrane layer that you’ve got to clean out or your trophy will forever be maloderous. You’ll need a small dull scraping knife and a long flexible fillet knife. And persistence.
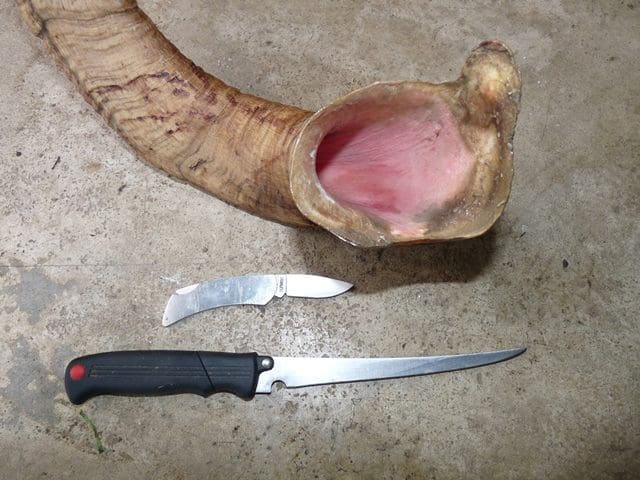
Tools of the trade.
Using your knives scrape as much membrane off as possible.
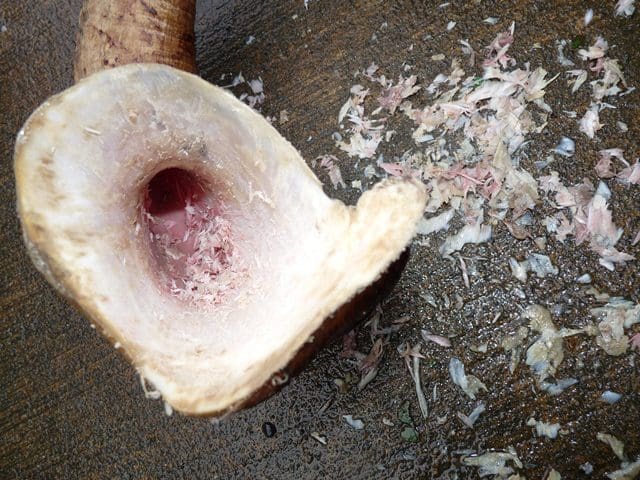
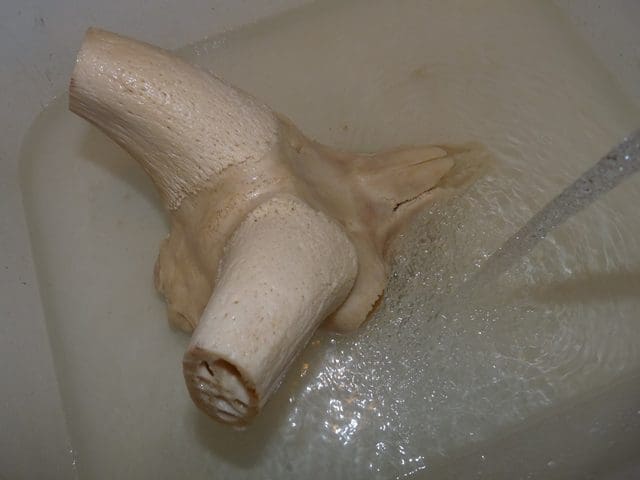
Here’s your horn mostly clean, still a bit down there at the bottom.
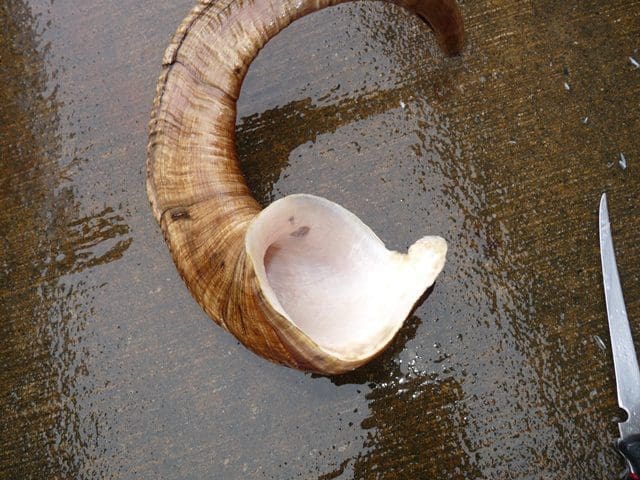
And here’s what it looks like when it’s adequately scraped clean.
Step 6: The horns will still have some funkiness going on from being in that garbage bag so here I like to let the horn soak a day in water and dish detergent to help with the smell.
After this soak rinse them off in clean water. If you’re careful you can sneak them into the house at this point for this rinse without offending other family members. Wipe off any remaining blood splatter at this point too with cool running water. Note: DO NOT SCRUB the outside of the horn with anything abrasive (Scotch Brite scrubbing pads, steel wool, belt sander, etc.) unless you want to remove the natural staining and coloration of your horns and have them look like crap. I warned you.
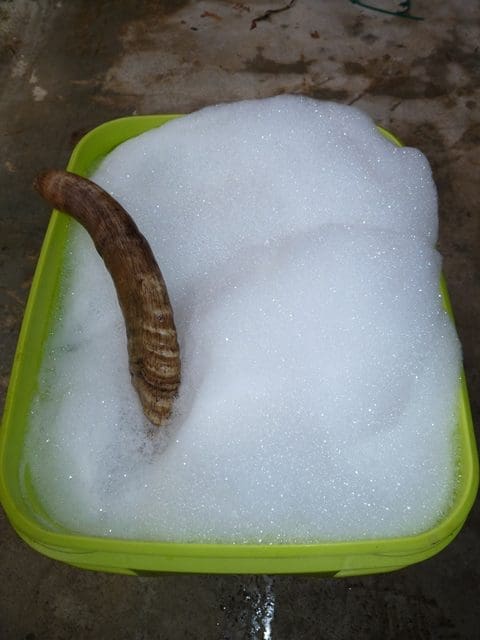
No diswashers here please.
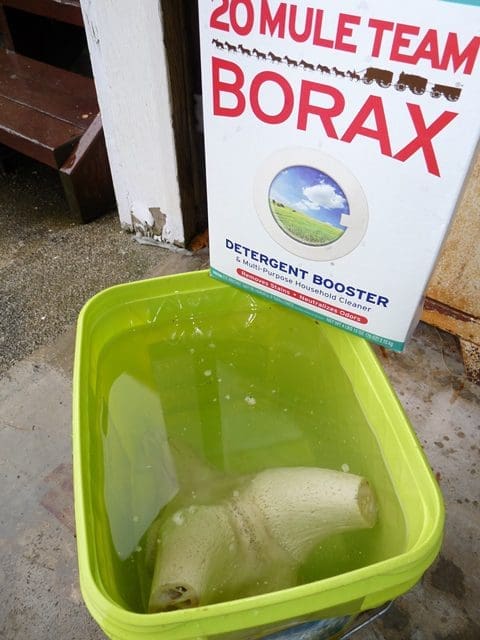
Step 7: After letting the horns air dry a day or so pack them full with Mule Team Borax. The borax dries out any residual tissue in the horn and soaks up the moisture and left-over stinky-ness. When the borax won’t stick to the inside of the horns anymore you know this step is done. It will take just a few days, variable depending on the climate where you live. Here’s what they look like packed and finished. The bottom horn is done and awaiting re-attachment. I don’t recommend putting any oils or preservatives on your horns. Just leave ‘em “all natural”.
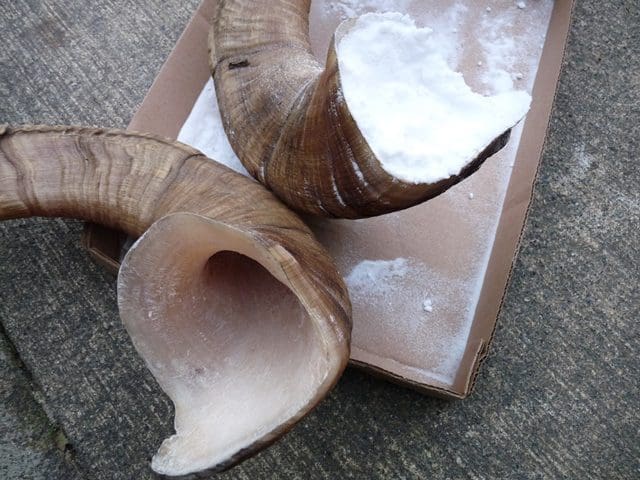
Bottom horn, done. Top horn packed with borax.
Step 8: We’re back to the skull. Time to get messy. After rotting in a garbage bag for a month and soaking in water a week or so, the tissue should be coming off pretty well. This is what my skull looked like out of the 5 gallon bucket. You can see a majority of the flesh has sloughed off already. With a dull knife, scrape as much off as you can at this step. Get a stiff wire and swizzle out (swizzle-I just made that word up!) as much brains as you can. If you’re lucky the membranes around the delicate nasal bones will slide satisfyingly off. NOTE: TEETH MAY BE FALLING OUT. Take care to keep track of them. You can see one in the upper left corner of my box.
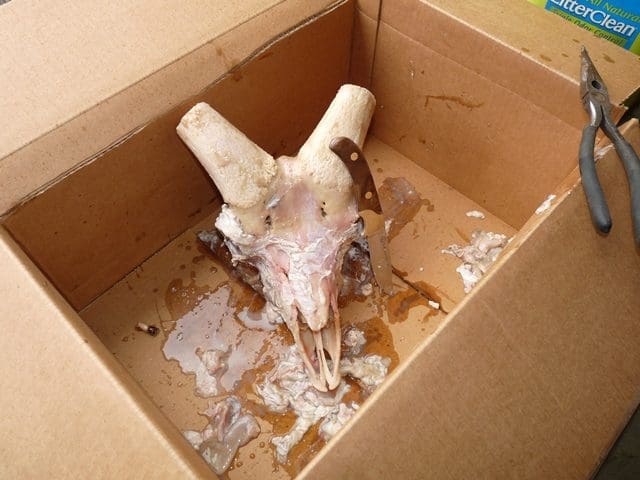
Look at how much has sloughed off already!
Step 8: Simmer. This is a critical step. Most internet instructions for Euro mounts start at this step. Boiling is hard on bones. All that decomposing and work we’ve done to this point has reduced the amount of simmering we have to do and saved wear and tear on your skull. Get your Coleman stove and an old pot and bring to a low simmer. Don’t boil, it’s too hard on the bones and can crack teeth. Add a cup of baking soda and a generous squirt of Dawn liquid dish soap to the water. The baking soda will help break down the tissue and the dawn is a degreasing agent. Check it frequently and scrape off meat as you can. I pulled this skull out of the pot three times and only simmered for about 45 minutes total. The less time simmering, the better. (NOTE: Guys, don’t use your wife’s good stew pot here and for heaven’s sake don’t do this in the house. Good grief).
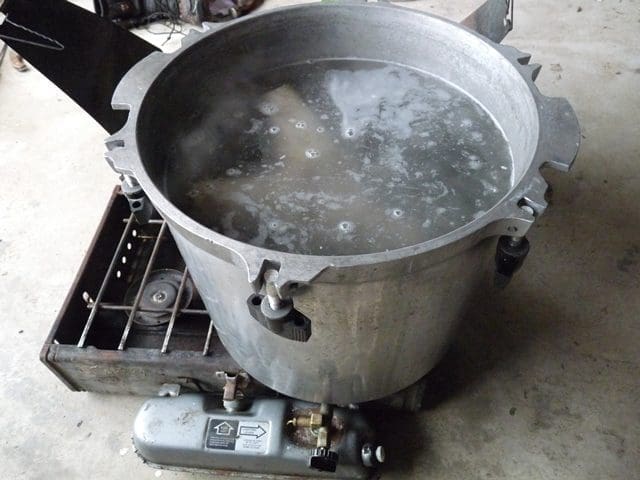
Check Value Village for a good skull pot.
Step 9: Here’s what it should look like at this point. You’ve got 90+% of the tissue off, but don’t slack now. Get your scraping knife and a couple stiff wire brushes. I’ve got a pick from an old dissecting kit that works great for bits in tiny crevices, vein cavities, etc. You’re safe to bring it in the house now it should just smell like a bad pot roast.
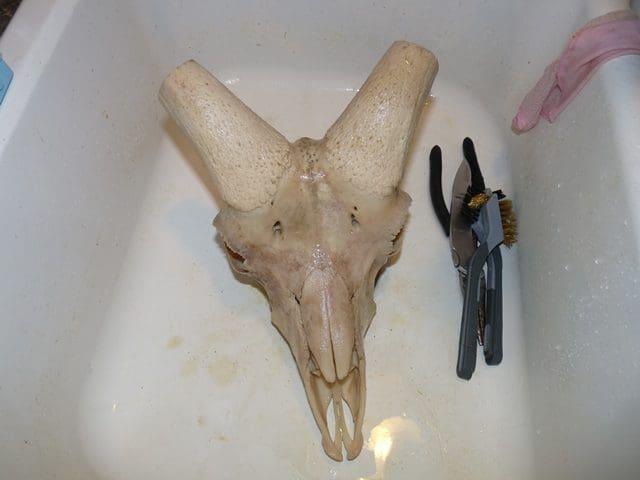
Done simmering.
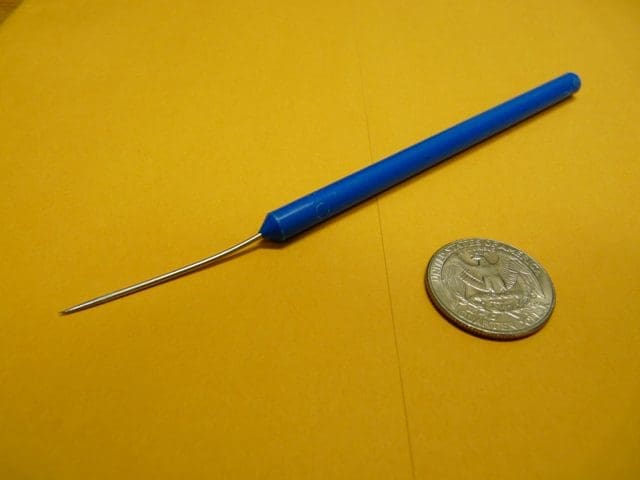
I use this pick from a dissection kit for several steps when doing a Euro.
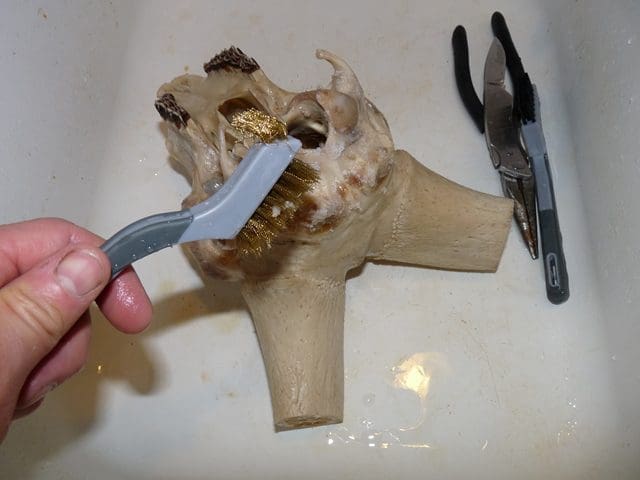
The most stubborn bits are on the back of the skull.
Step 10: The hard work is over. This step is the degreasing stage. Fill your 5 gallon bucket with clean warm water (you cleaned your bucket after step 4 right?) and a cup of borax. I leave it in this solution for about a week. A number of things are happening here. The borax is degreasing the skull, dissolving remaining tissue and actually does a fair job of whitening on its own. If you had any teeth fall out during the process I like to put them in with this solution.
Skull in degreasing agent.
Step 10: ALTERNATIVE METHOD. I’ve actually found the best degreaser to be plain old unleaded gasoline. The problem with this is your skull will reek of gasoline fumes for weeks. If you’ve got time it’s a great degreaser, but it really is a mess to work with. If you are doing a greasy skull like a bear or javelina, I would go the gas route and leave it in for about 3 weeks. Otherwise the skull will yellow over time as grease works to the surface.
Rinsing the soapy-ness off.
Rinse off your skull in warm tap water to get the soapy residue off after the appropriate soaking time. Flushing the skull with the tap water will help rinse out any tissue still hanging around. Give it a few days to air dry.
Step 11: Teeth. Your ram’s teeth are caked black with 8-12 years worth of alpine vegetation. Take the time to scrape this off. It actually flakes off fairly well. Use a small knife, small flat screwdriver or that pick from the dissection kit works great here. It really is worth going to the trouble to do this extra step. It looks minor league to have this beautifully white skull with blackened teeth.
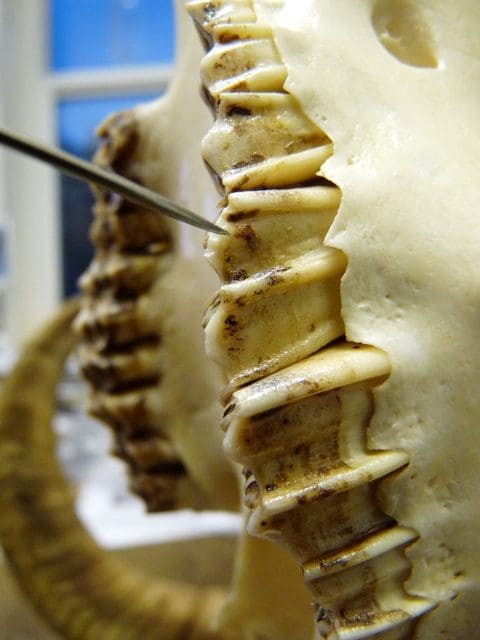
I recommend doing this step prior to reassembly
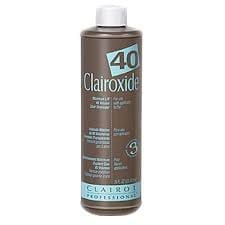
Step 12: Here’s where the magic happens. Run down to your local beauty supply store and buy several bottles of Clairoxide 40. Don’t be embarrassed guys, you killed a ram, so you’re obviously not some girly-man. (For some reason the gals there always know I’m looking for taxidermy stuff, not hair care products. Must be the high and tight with a baseball cap that gives me away). Clairoxide 40 is 40 volume hydrogen peroxide. This isn’t the 3% drug store peroxide you put on your kids owies. This stuff is serious. Seriously. It’s acid like. Wear long sleeves, rubber gloves and eye protection. Put your skull into your 5 gallon bucket and pour in enough clairoxide to submerge the skull. Don’t worry if the horn cores aren’t covered, they won’t show anyway. Leave your skull in this bath just overnight. That’s plenty to dissolve the last stubborn bits of tissue and make your skull gleaming bright white. Any longer will start to eat away the bone.
If you had teeth fall out, put them in a small container and soak in Clairoxide too.
Remove skull after a day and let it dry. Preferably out in the sun.
Tip: It’s a bit of an investment for all that Clairoxide. I recommend having a dedicated bucket for it. You can use the same batch over and over for several skulls. Make sure you have a secure lid for this dedicated bucket and a safe place to store it. Bad, bad news if your pets or kids get into it. You can also mix it 50:50 with water. This basically makes 20 volume peroxide. If you do this leave your skull in an extra day.
Step 13: Teeth re-assembly. Teeth don’t take a lot of extra work. If you include them in all the above steps, any residual tissue should get eaten away by the chemicals. If you had teeth fall out, here’s where you re-insert them. I use super glue. Even if the teeth didn’t fall out, they will be loose and floppy. A line of super glue will help secure them. Place the glue toward the inside of the skull so it won’t show. Since you’ve got the super glue out, any other small bones that are coming loose can get a shot of reinforcement. Usually for me the long thin bones of the upper jaw sometimes get a bit loose.
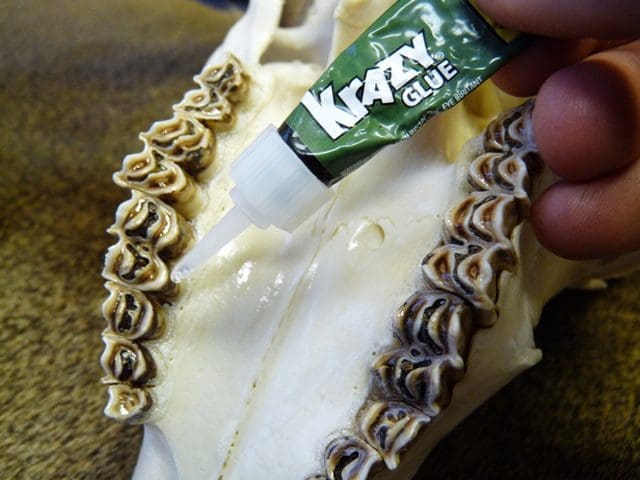
A line of glue on the inside of the teeth will tighten them up.
Step 14: OPTIONAL. I like to protect my skull with a clear poly. It’s not necessary, but I like the look and think it gives it some protection as well as locking out any residual odors. I like clear gloss. Do several (3-4) light coats. Give it a couple hours to dry in between coats. Don’t forget to give the brain cavity a couple shots as well.
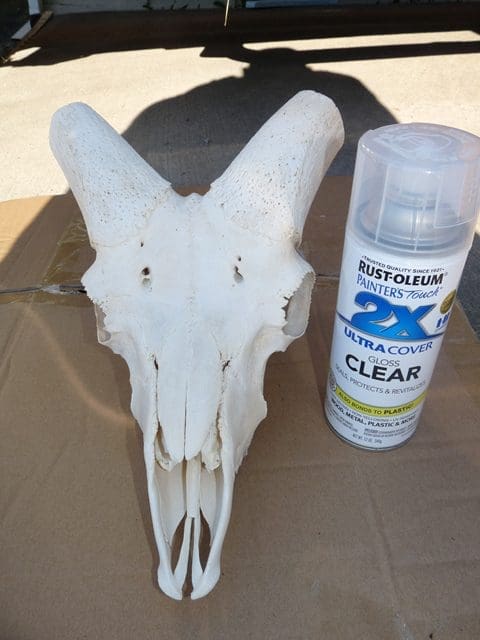
Ready for protective clear gloss.
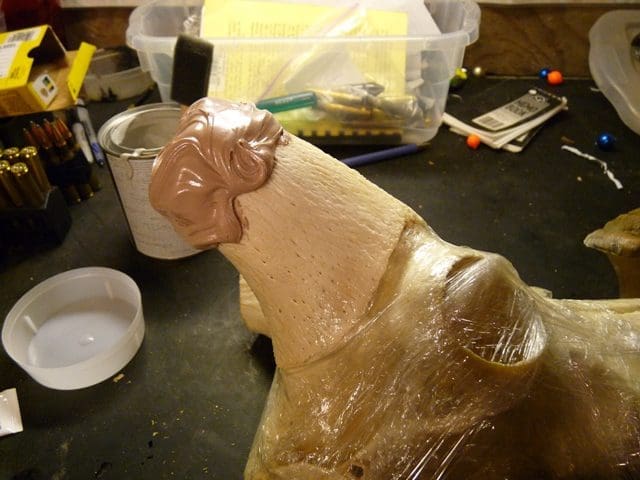
Step 15: Horn Re-attachment. To keep the universe from tilting off its axis and balance out your trip to the beauty supply store, you now need to run down to the local hardware store and buy a can of bondo body filler (insert Tim the tool-man Taylor grunt here). Carefully wrap your skull to ward off any errant drips. I prefer Saran wrap.
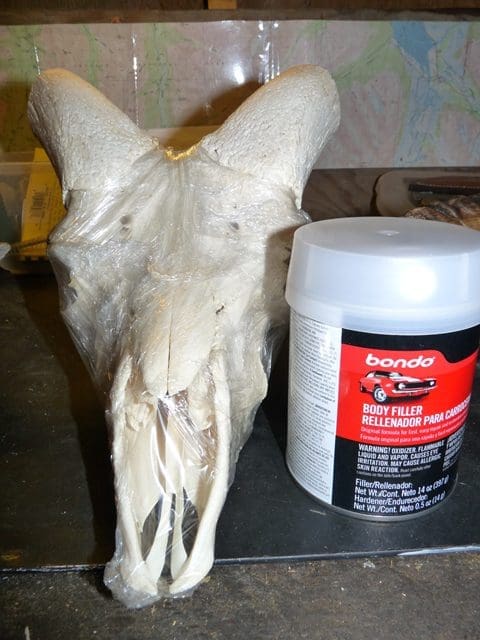
Wrapped in Saran, ready for the bondo treatment.
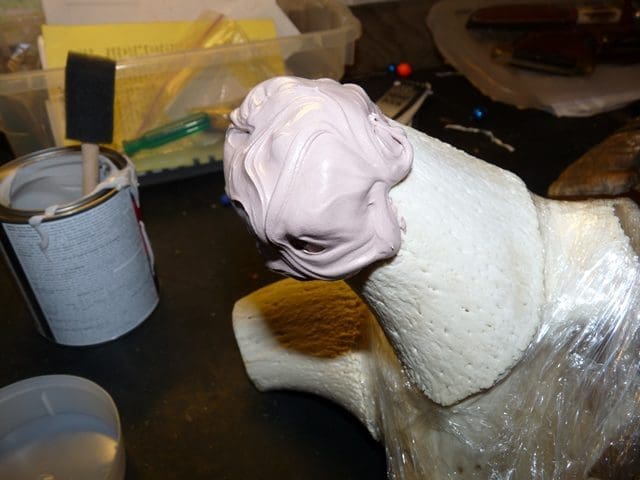
Don’t over-do it on the bondo.
Mix up your bondo per manufacturer’s directions. You just need to make up a small batch. Approx. 1 cup or so. You’ve got to work carefully, but efficiently. You don’t have a lot of time before this stuff hardens up. Using an old popsicle stick or equivalent, apply bondo to horn core to approximate picture.
Here’s another view of about how much bondo to use. Too little and you won’t get a good set, too much and it will squish out the base of the horn and be visible (and pink).
Once the bondo is on the core, carefully, but assertively place the horn back on the skull. Did I say carefully? You only get one shot here. Press the horn into place. You should feel the bondo contacting the horn inside. Make sure the horn is seated properly on the core and hold it in place. Hard. As in you’re on your knees with the horn on the garage floor and you are bearing down carefully but firmly with your body weight to make sure the horn stays in the proper alignment. Hold this for a good 5-10 minutes. At that point the bondo will have set adequately enough that you can let up.
Tip: Don’t try to do both horns at the same time. Trust me.
Step 16: Repeat Step 15 with the other horn. Once both horns are set, place the skull and horns in a safe place and allow it to cure approximately 24 hours.
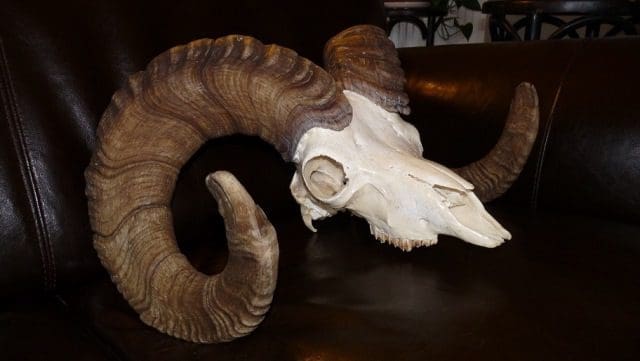
Step 17: You’re done! Unwrap the shrink wrap from the skull and voila! Your trophy ram European mount is finished and ready for display. One of the cool things about euro mounts is the variety of display options you have. Set them on a shelf, in a book case, line them up (if you are lucky to have more than one) on a staircase bannister or on a prominent beam in your house. Or you can make or purchase any number of wall mounts.

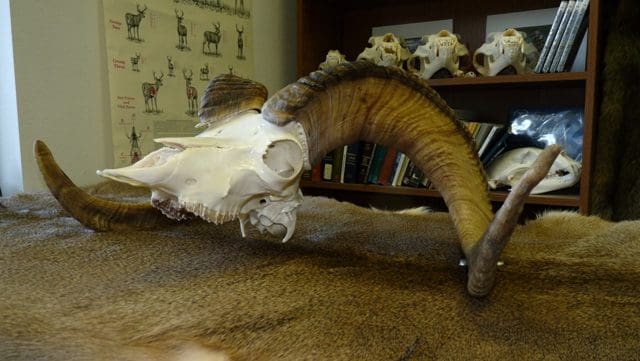
Here’s my 2013 ram all done and ready for display.
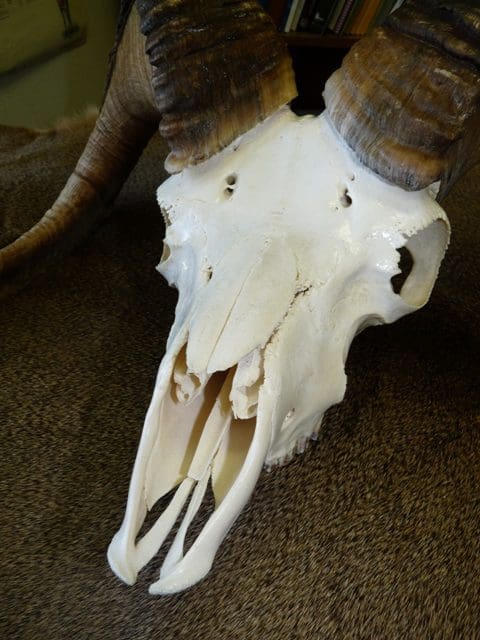
Close up of skull
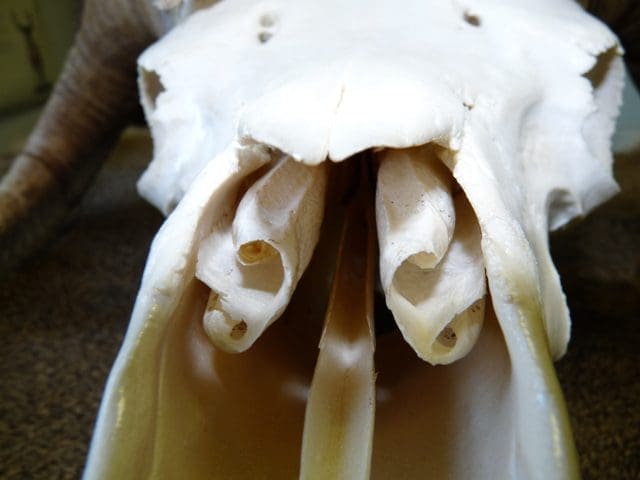
Close up of delicate nasal bones.
That’s it! Feel Free to contact me or Scott directly through Facebook or our website if you want to try doing this yourself and have any questions about specific details. We’d love to see your DIY Euro mounts too. Send pics to info@provingtrailadventures.com.
Your Shopping Cart
Free Downloads
Sheep Hunting Gear List
All the gear and food used in the Lace'em Up video listed in a free download.
The Keys to Success
What it takes to be successful as a dedicated backpack sheep hunter.
7 Rams, 7 Mountains
Steve completed the first ever walk-in Alaska sheep slam this past August 2012. Read about his journey here.
 Download Our Walk-In Slam Banner
Home | Hunting Videos | About Us | Articles | Contact Us